Buyer's Guide
How to Apply a Phone Screen Protector?
Dec
A high-quality phone screen protector is essential for safeguarding your device from scratches, cracks, and smudges. However, improper installation can lead to air bubbles, misalignment, or reduced touch sensitivity. This comprehensive guide walks you through every step—from preparation to final adjustments—to ensure a flawless application.
1. Choose the Right Screen Protector
Before applying, select a protector that matches your phone model and needs:
A. Types of Screen Protectors
- Tempered Glass: Most popular for its scratch resistance, clarity, and oil-repellent coatings. Ideal for daily use.
- PET Plastic: Thin and flexible but less durable. Best for budget users or temporary protection.
- Hydrogel Film: Self-healing and ultra-thin, offering a “barely there” feel. Great for curved screens.
- Privacy Filters: Darkens the screen at angles to prevent snooping. Adds a slight tint.
Pro Tip: Check compatibility with your phone’s edges (e.g., “2.5D” or “3D curved” protectors for rounded displays).
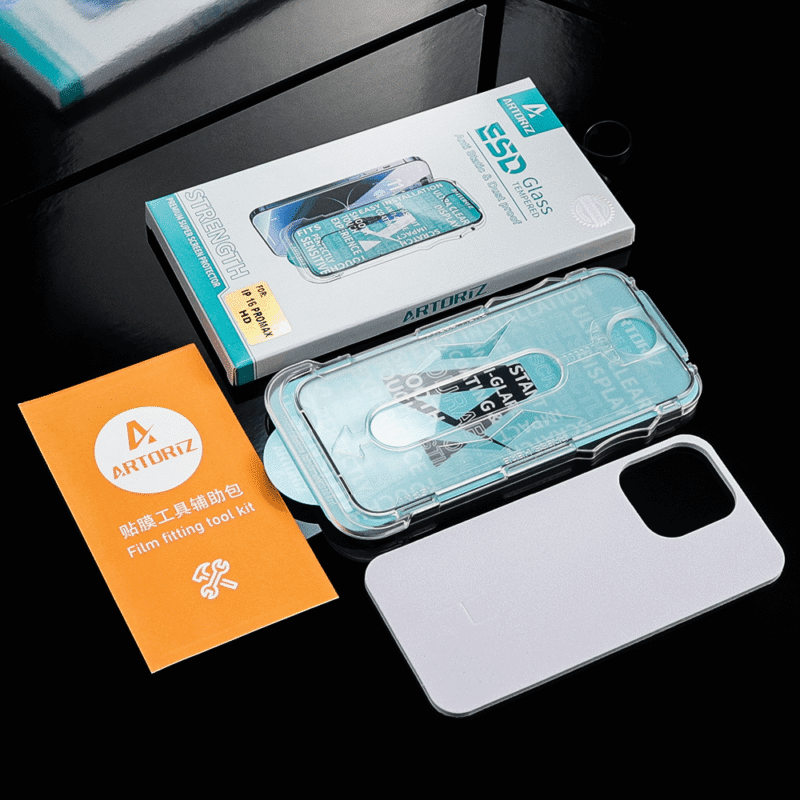
B. Check for Included Tools
Most kits include:
- Microfiber cloth
- Dust removal stickers
- Alcohol wipe
- Squeegee or credit card
- Alignment tray (for premium brands like Spigen or ZAGG)
2. Prepare Your Workspace
A. Clean Environment
- Work in a dust-free area (e.g., a bathroom after a hot shower—steam reduces airborne particles).
- Avoid carpets or areas with pets/hair.
B. Gather Tools
- Microfiber cloth: For wiping the screen.
- Alcohol wipes: Remove oils and fingerprints.
- Dust stickers: Lift lingering particles.
- Tape: Optional for stubborn dust (use low-residue Scotch tape).
- Bright light: A desk lamp or flashlight helps spot dust.
3. Clean Your Phone Screen
A. Power Off Your Device
Turn off the phone to avoid accidental touches and see dust more clearly.
B. Remove Existing Protector (If Applicable)
- Use a plastic card or fingernail to gently pry up a corner.
- Pull slowly at a 180° angle to avoid cracking the glass.
C. Deep Clean the Screen
- Wipe with an alcohol pad: Scrub gently in circular motions to dissolve grease.
- Dry with a microfiber cloth: Ensure no streaks remain.
- Inspect under light: Hold the phone at an angle to check for dust. Use a sticker or tape to remove any particles.
Critical Step: Even a speck of dust will cause bubbles. Take your time!
4. Apply the Screen Protector
A. For Protectors with an Alignment Tray
- Place the tray: Snap it onto your phone to guide positioning.
- Peel off the backing: Remove only 1–2 inches of the protective film.
- Align carefully: Lower the protector into the tray, ensuring edges match the screen’s curves.
- Press the exposed area: Use a finger to adhere the first section.
- Slowly peel the backing: While using a squeegee or card to push out air bubbles as you go.
B. For Protectors Without a Tray (Freehand Method)
- Peel off ½ of the backing: Expose the adhesive side but leave the top layer intact.
- Align the top edge: Use the phone’s speaker or camera cutout as a reference.
- Let gravity help: Hold the phone vertically (e.g., over a soft surface like a couch) to let the protector “hang” into place.
- Press from the center outward: Use a card to smooth the protector downward, removing bubbles.
- Remove the top film: Peel off the remaining protective layer slowly.
Pro Tip: If you misalign, gently lift the protector (don’t pull) and reposition. For tempered glass, avoid bending it—this may cause cracks.
5. Remove Air Bubbles
A. Small Bubbles
- Press firmly with a microfiber cloth and slide toward the nearest edge.
- Use a credit card wrapped in cloth for stubborn bubbles.
B. Large Bubbles or Dust Particles
- Lift the protector near the bubble using a fingernail or tape.
- Use a sticker to pick up the dust.
- Re-press the area with a card.
Note: Bubbles near the edges may disappear after 24–48 hours as the adhesive sets.
6. Final Checks & Maintenance
A. Test Touch Sensitivity
- Swipe, type, and game to ensure no dead zones.
- If responsiveness is poor, the protector may be misaligned or low-quality.
B. Check Edge Adhesion
- Press along all sides to seal the protector. Use a hairdryer on low heat (6 inches away) for 10 seconds to help the adhesive bond to curved edges.
C. Cleaning & Care
- Avoid ammonia-based cleaners (e.g., Windex), which can damage coatings.
- Wipe with a damp microfiber cloth and dry gently.
- Replace the protector if it’s deeply scratched or peeling.
Common Mistakes & How to Avoid Them
- Rushing the process: Dust and bubbles are inevitable if you hurry. Dedicate 15–20 minutes to installation.
- Touching the adhesive side: Fingerprints on the sticky surface are impossible to remove. Handle the protector by its edges.
- Using sharp tools: Metal cards or knives can scratch the screen or protector. Stick to plastic squeegees.
- Ignoring the environment: Even a single hair can ruin the application. Clean your workspace thoroughly.
Alternative Methods for Tricky Phones
A. Curved Screens (e.g., Samsung Galaxy S24 Ultra)
- Use a hydrogel film or a protector labeled “edge-to-edge compatible.”
- Apply heat with a hairdryer (low setting) to mold the film to curves.
B. No-Bubble Installation Hack
- Fill a spray bottle with distilled water + 1 drop of dish soap.
- Lightly mist the screen (not the protector!).
- Apply the protector—the water allows repositioning.
- Squeegee out bubbles and let dry for 12 hours.
Warning: This method risks water damage to your phone. Use sparingly and power off the device.
Conclusion: Enjoy Your Protected Screen!
A well-applied screen protector is virtually invisible but provides critical defense against drops, scratches, and daily wear. By following these steps—and exercising patience—you’ll achieve a professional finish that keeps your phone looking new for months or even years.
Pro Tip: Keep the original packaging and tools. You’ll need them when it’s time to replace the protector!
Need a visual guide? Search for “screen protector installation video [your phone model]” on YouTube for model-specific tutorials.
With this guide, you’re ready to tackle the task like a pro. Happy protecting! 📱✨